Our local school district has been gathering students, parents, teachers, administrators, and other members of the community to talk about what skills our students will need in the future. The lists we have developed are varied, ranging from tech-savvy to satisfaction with what you have. The discussions are lively and meaningful and reassuring. I always leave the meetings energized and full of ideas.
Tuesday, February 19, 2013
Just Watch: UAL Green Week Film
Thursday, February 14, 2013
Just Sew: Signature Look

Well, it is the last week of Project Run and Play and I successfully completed all of the challenges. Kind of. The final challenge is always to complete a signature look. Many of the people sewing along really look forward to this week, but I always find it pretty intimidating. I feel like I have a long life of sewing ahead of me, and have just barely begun the journey - most likely, I am in the getting a full tank of gas before you really hit the road stage. I am nowhere near nailing down a "signature" look.
Instead I looked at the elements that characterized this season of Project Run and Play for me. First and foremost this time, everything I sewed was in response to requests from my kids. Previously, I have made whatever I wanted and then just sold the items my kids didn't claim for themselves. Secondly, I worked with a variety of materials beyond old t-shirts and jersey knits. Lastly, I have really been into the color grey, and I think at least a little bit showed up in every challenge.
I hadn't made anything for my oldest this season and asked her to pick out a dress she liked so I could try and make it. She gave me several choices, and after looking at the construction and for tutorials online, we settled on this one from Modcloth.

It is a nice, light grey with a paisley pattern worked into it. We actually had a white sheet with a similar pattern woven into it that we just didn't use any more (downsized mattresses) that I dyed grey. As you can see, our grey came out much darker, which was disappointing. I actually only pinned the crocheted lace to our dress because I want to try bleaching/removing some of the color. Hence, the "kind of" statement in the first paragraph.

Other than the color I am mostly satisfied with the dress. The entire bodice is lined and I made an effort to finish it nicely on the inside. I also successfully dyed the lace with tea to make it closer to ivory, which is what my daughter wanted (although she is wavering on the lace and might want it plain after all - good thing it's just pinned!). In the end, we decided to forego the buttons, too.
I did not even attempt to make some sort of tutorial for this, as I was really just making it up as I went along. Everything was self-drafted, trial and error, with A LOT of fittings. This really pushed my skills and there were probably just as many mistakes as successes. Once again, I am glad I gave this season of Project Run and Play a try and have definitely seen my skills improve in a very short time.
Thursday, February 7, 2013
Just Wear: Decent Exposures

If you have made some sort of commitment to buying all of your clothing secondhand, you know underwear can be tricky. Even I get a little squeamish thinking about wearing someone else's underwear. One solution is to sew underwear (usually out of old t-shirts), but my kids complained they weren't as comfy as storebought, and in the end, they just couldn't hold up to the wash and wear regimen required for them. When you start hunting for sustainably made underwear, it can get tricky, too. Although some of the larger companies produce organic cotton underwear, I would still question their labor practices around growing and harvesting the cotton and manufacturing the product.
This is where Decent Exposures, based in Seattle, saves the day. First of all, it is a one-stop underwear shop, with options for the whole family. They began in 1986 and have remained committed to the quality of their materials and their manufacturing process. All of their pieces are made here in Seattle by people receiving decent pay and benefits and flexible schedules. A friend of mine actually did her internship there and confirmed it is a great environment for a working woman.
They keep a lot of stock on hand, but also do custom orders. At one point, you could even send them your old t-shirts and they would make them into underwear for you. Yes, the price for one pair is the same price you might pay for a 3-pack at Target, but the product is of much high quality and will last longer. Also, I guarantee the people involved in making the 3-pack did not receive a livable wage and benefits.
If it is an area of your life that you have considered making a change in, they are definitely worth checking out. I know I found them because they are local, but I haven't really come across another company like them. I'd love to hear any other recommendations or suggestions on this topic!
Sunday, February 3, 2013
Just Sew: Men's Shirt Re-fashion

Anyone who has been shopping at a thrift store knows there are always A LOT of men's dress shirts on the racks. And for every shirt there seems to be a tutorial on how to re-fashion it. The challenge for this week at Project Run and Play is to create a look using a men's shirt. My goal this week was to make something I hadn't seen before. I actually began playing around with this design a few weekends ago because I didn't have a clear idea for this look. The inspiration came from two designers on last season's Project Runway, Dmitry and Melissa. Keeping in mind Melissa's cool collars and Dmitry's clean lines and tailored tucks, I tried to incorporate those elements while cutting and pinning this shirt.

 One of my favorite details is that I swapped out the buttons for these vintage Czech glass buttons with little cats on them. I picked up the idea of blue and cats again in an embroidered detail on the tailored shorts I made to compliment the shirt. Two summers ago I scored several bundles of vintage suiting material at a yard sale.
This grey is a nice lightweight wool, and when lined, works well for pants or shorts. Besides the cat, I also added some piping detail on the front, from
leftover shirt fabric. Also, this was my first time creating an adjustable
elastic band on the inside of the shorts.
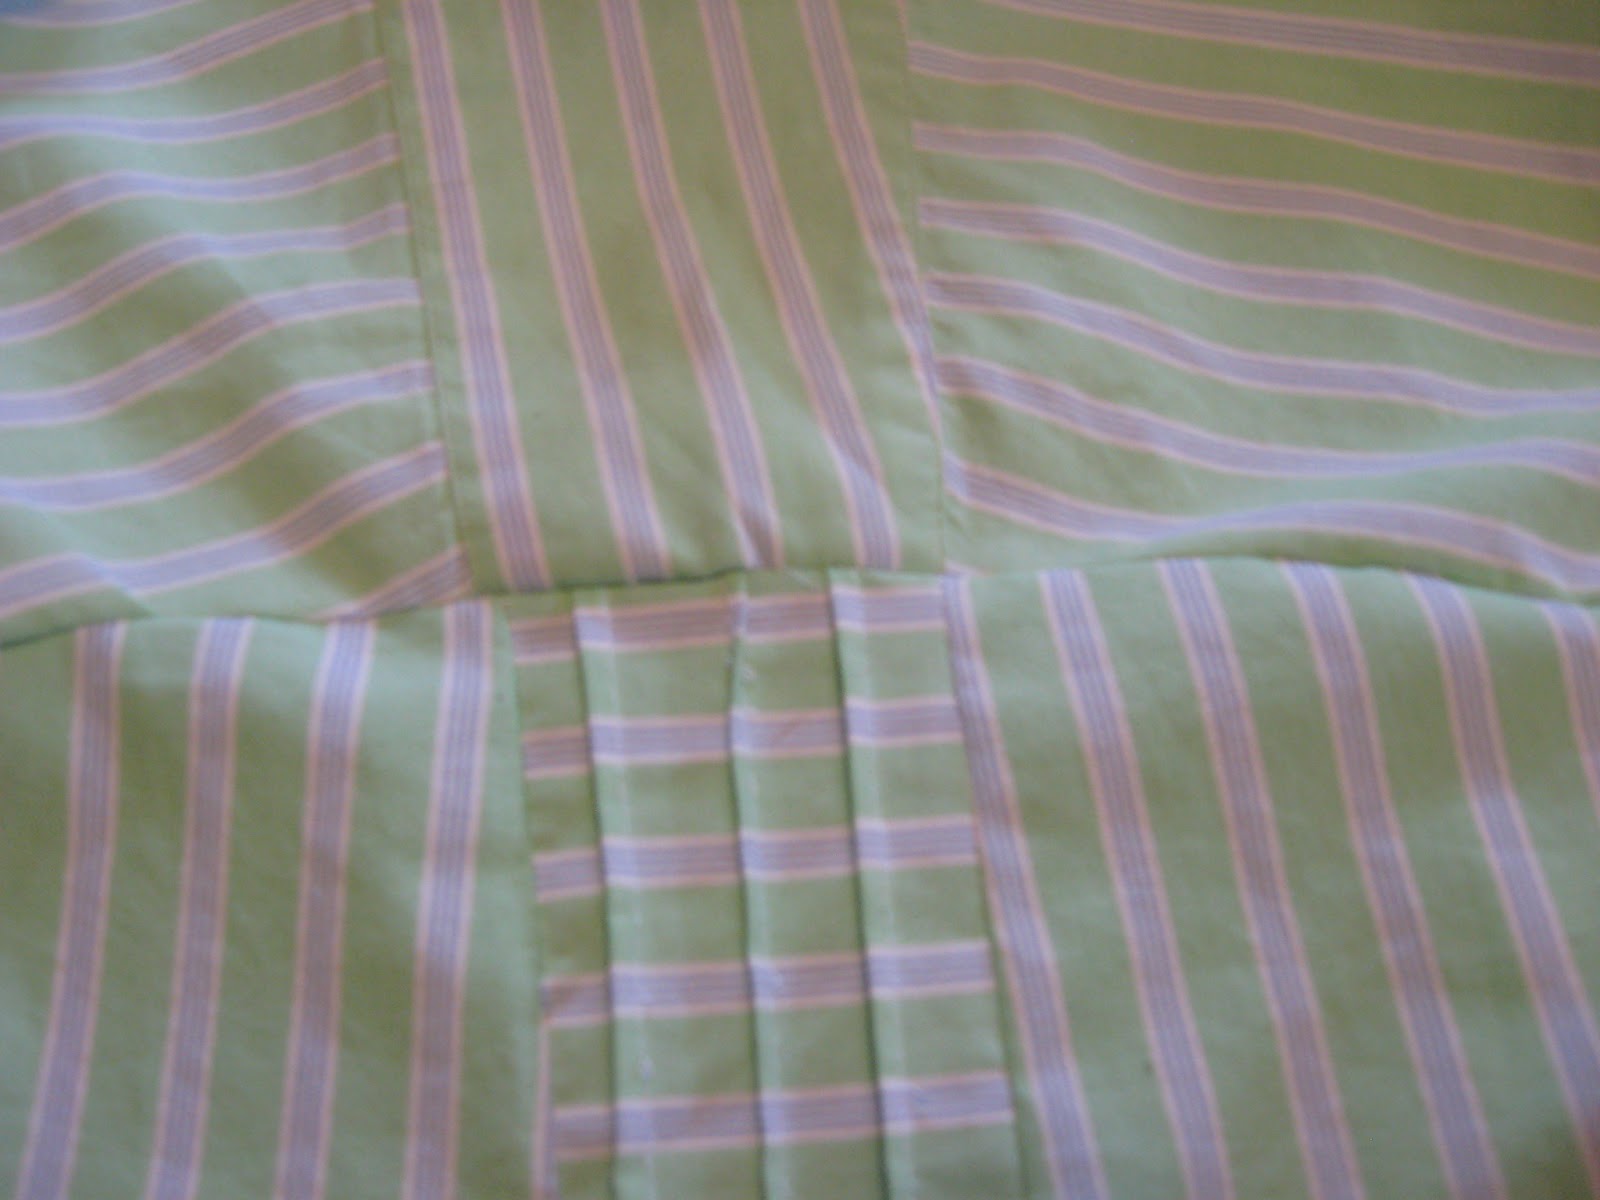


Re-fashioning the shirt was actually pretty simple. First I
deconstructed the shirt by cutting off the sleeves and cutting the shirt
up both of the seams. Then I turned the shirt sideways so the front
button placket was over the left shoulder. Next I used a narrow t-shirt as a pattern for the bodice.
 Using the existing hemline I drafted the bottom of the shirt. Originally, I thought about having a more flared out style, but after trying it on my daughter, I decided to keep it more tailored. After pinning and sewing those pieces together, I realized a side zip would be necessary. Although functional with a standard zipper (that's all I had on hand), a separating zipper makes the shirt a lot easier when dressing. The last step is creating half inch bias tape to finish the edges around the armholes. I used some fabric from the shirt, but you could use a contrasting fabric, too. I really like how unique this design is, and can't wait to make a summery white one for myself.
 This piece was featured by Pam over at Threading My Way. She has created an amazing resource of tutorials through ongoing linky parties.
Subscribe to:
Posts (Atom)